Content Training
Want to learn more about how to improve your website content?
These resources for Towson University web editors are a guide to creating and maintaining high quality website content.

Learn about web editor responsibilities, the process for editing and adding new web pages or faculty profiles and keeping content updated.
Learn More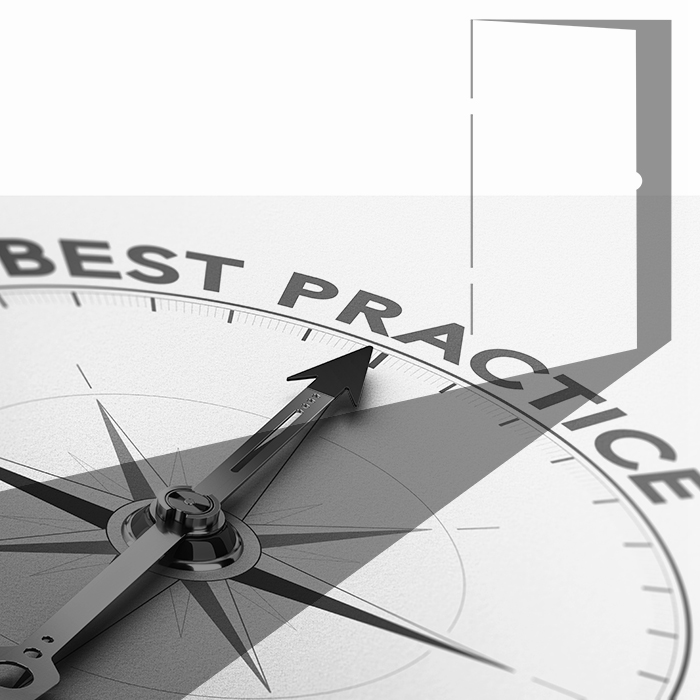
Learn industry best practices for creating engaging digital experiences for website users.
Learn More
These are the nuts and bolts of designing webpages within TU’s content management system. Build your webpages with reusable snippets or view sample pages for specific use cases.
Learn More
To request help with your website — including creating or moving webpages, redesigning
layouts or rewriting content — contact digitalstrategy@towson.edu.
All requests must be submitted by email. In order to ensure that requests are properly tracked and completed quickly, we cannot
take requests via WebEx Teams.
Want to learn more about how to improve your website content?

Access the university’s brand toolkit for information on brand messages, visual guidelines and design tools.
Find Out More